
PROXMOX VE CONFIGURATION
Proxmox VE Setup Guide
Step-by-step guide on installing and configuring Proxmox VE on a headless home lab server.
This guide outlines the steps to successfully install and configure Proxmox VE on a repurposed laptop as a headless home lab server.
1. Initial Proxmox Installation
- Download: Obtain the latest Proxmox VE ISO from the official Proxmox website.
- Flash: Use a tool like Etcher or Rufus to write the ISO to a USB drive.
- Install: Boot the laptop from the USB drive. Follow the on-screen installer prompts.
- Network Configuration: Assign a static IP address, set the Gateway, and configure the management interface to match your local network segment.
2. Configure Headless Operation (Lid Settings)
To prevent the laptop from suspending when the lid is closed, modify the systemd login configuration:
- Open the configuration file:
nano /etc/systemd/logind.conf - Locate and uncomment (remove the #) the following lines, setting them to
ignore:HandleLidSwitch=ignore HandleLidSwitchExternalPower=ignore HandleLidSwitchDocked=ignore - Save and exit (
Ctrl+O,Enter,Ctrl+X). - Restart the service to apply changes:
systemctl restart systemd-logind
3. Configure Screen Timeout
To ensure the screen blanks automatically and saves power, configure the kernel console blanking:
- Edit the GRUB configuration:
nano /etc/default/grub - Find the
GRUB_CMDLINE_LINUX_DEFAULTline and appendconsoleblank=30:GRUB_CMDLINE_LINUX_DEFAULT="quiet consoleblank=30" - Update the bootloader:
update-grub
4. Hardware BIOS/UEFI Settings
To ensure high availability for your server:
- Enter BIOS/UEFI on startup (usually F1 or Enter).
- Navigate to Power settings.
- Set Restore on AC/Power Loss (or similar) to Power On.
- Save and exit.
5. Verification
- Reboot the system:
reboot. - Confirm the Proxmox web GUI is accessible at
https://<YOUR_IP>:8006. - Close the laptop lid and verify that the server remains reachable and the screen turns off after 30 seconds.
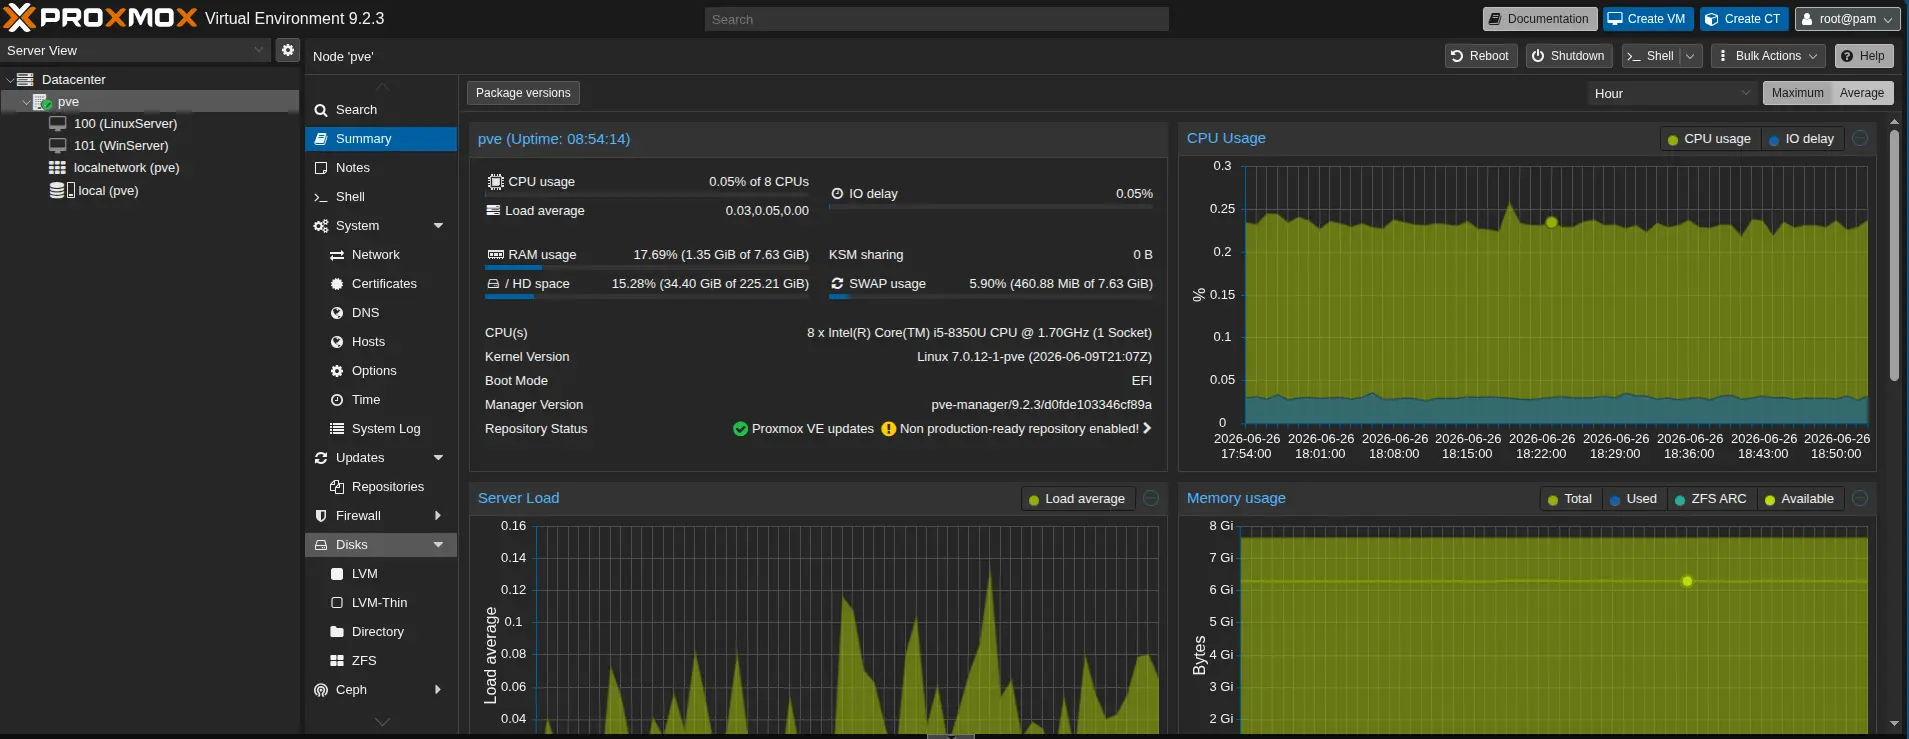
Figure 1: Live Proxmox active with 2 base servers for testing
6. Security Hardening
Objective: Secure Proxmox Management Interface and Host OS
Perimeter & Network Security
- Disabled Port Forwarding: Verified no external port mapping (NAT) on the home router.
- Tailscale Integration: Implemented WireGuard-based P2P VPN for secure remote access.
- Firewall Enablement: Enabled Datacenter and Node-level firewalls. Set Default Input Policy to DROP.
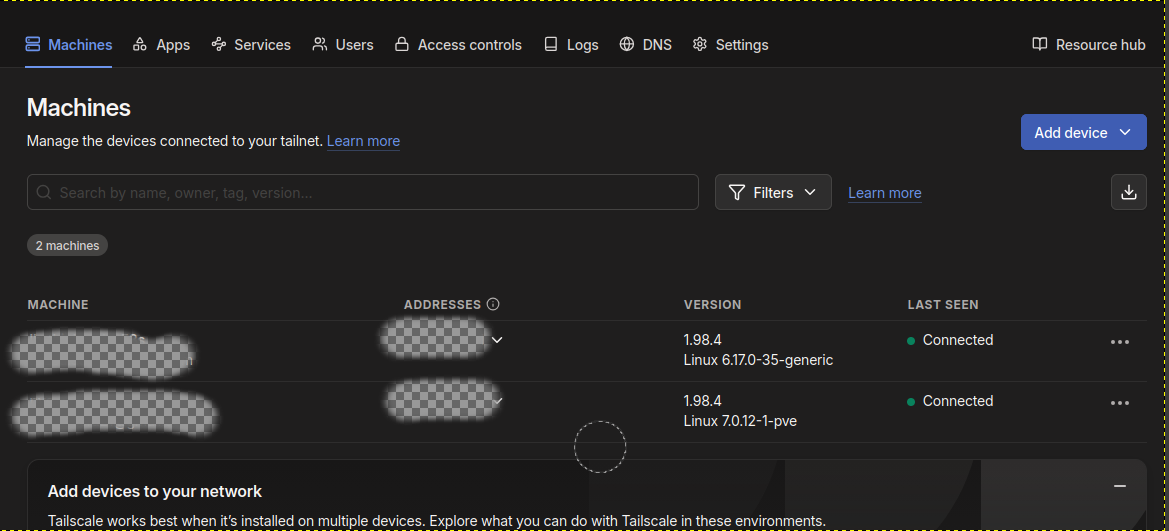
Figure 2: Firewall Configuration
Identity & SSH Hardening
- Key-Based Authentication: Generated unique Ed25519 SSH key pair.
- Host Lockdown: Disabled password auth and restricted root login in
/etc/ssh/sshd_config.
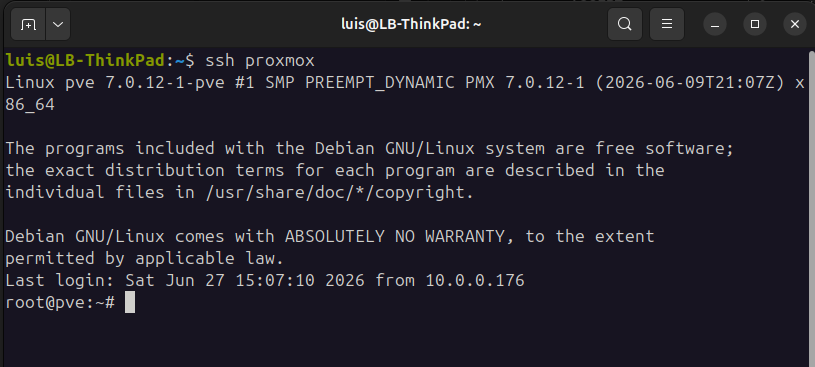
Figure 3: SSH Configuration Verification
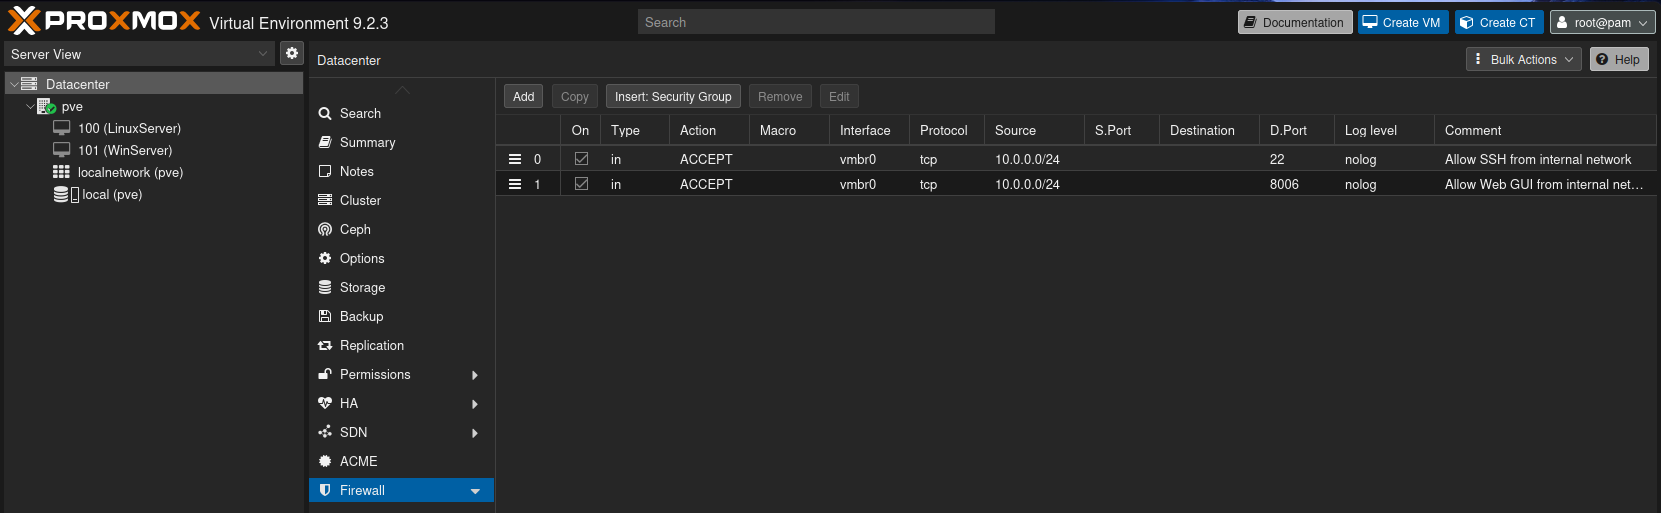
Figure 4: Firewall Configuration
Critical: Your Private Key file is your "Master Key." If you lose this file, you will be locked out of your server. Backup your
~/.ssh/ directory securely.
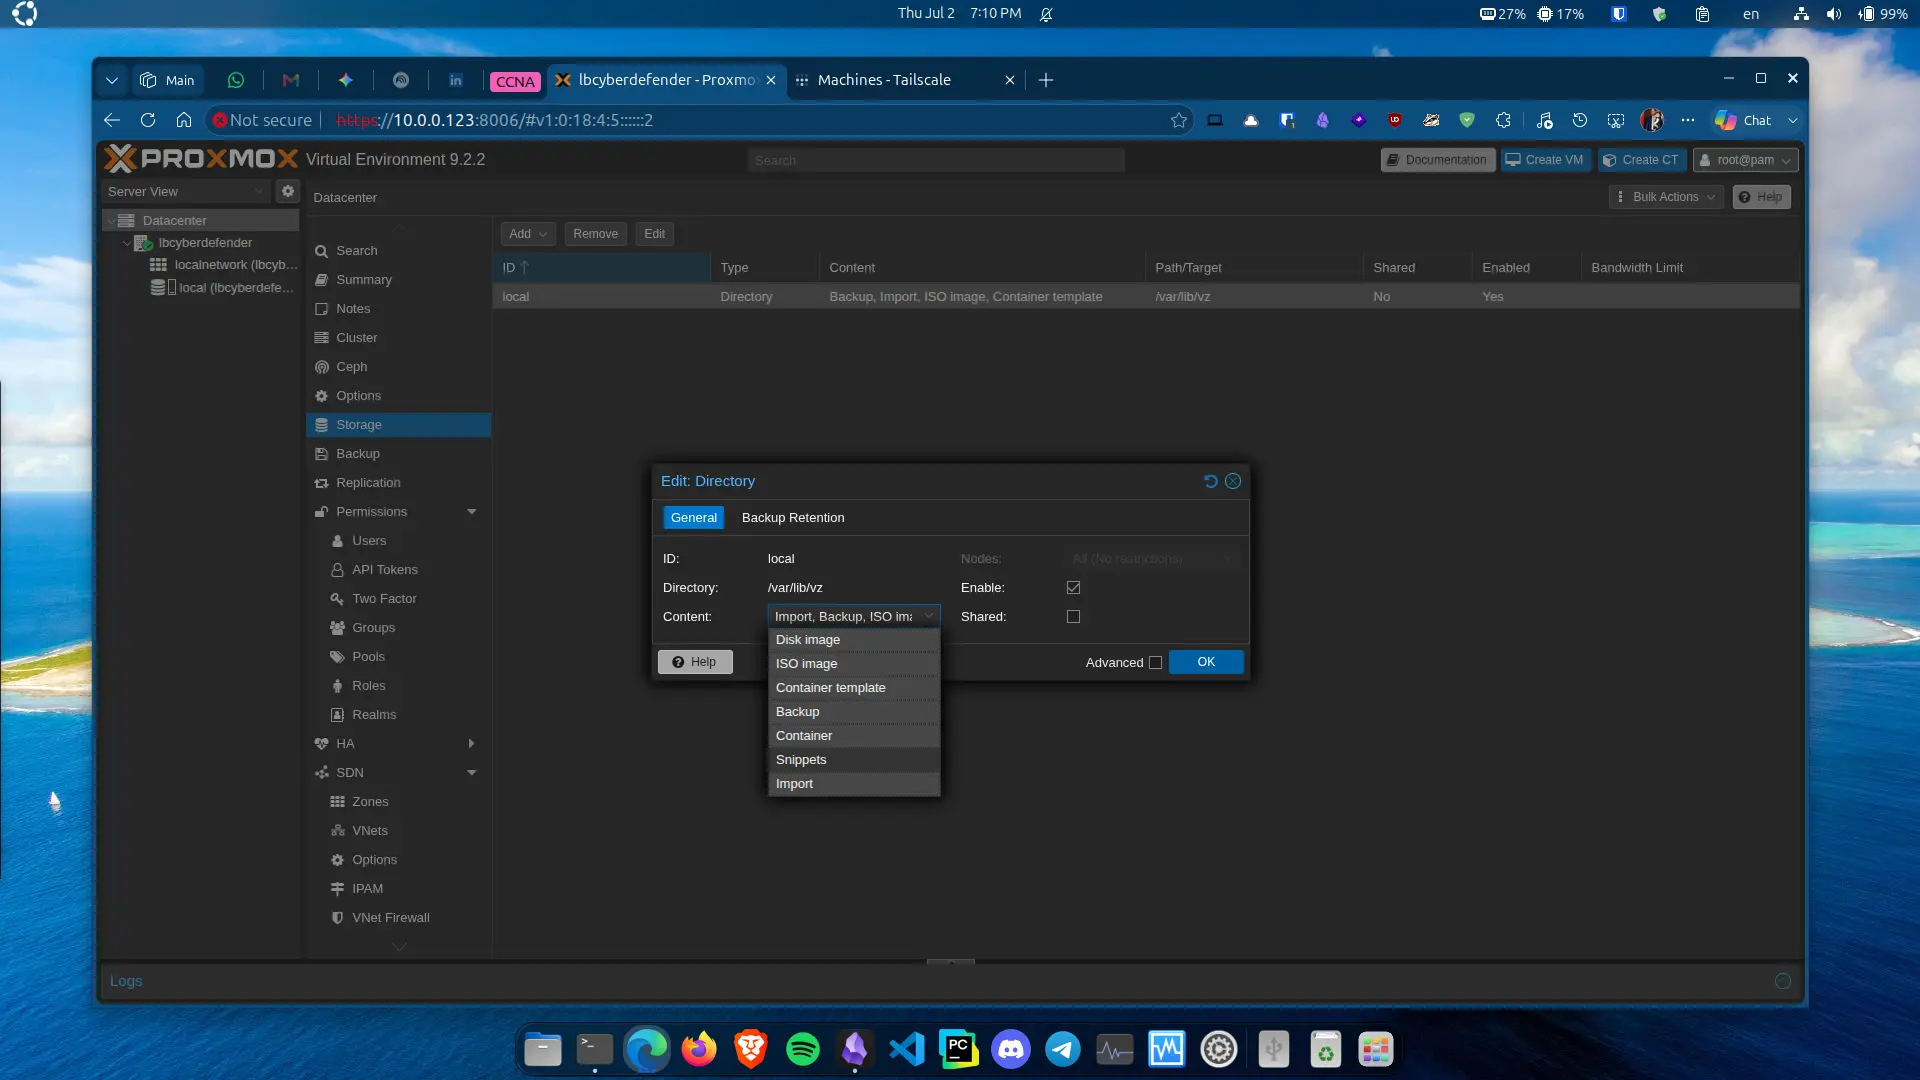
Figure 5: Storage configuration for new VMs